Hi everyone,
Welcome to my Blog. Hope you all are doing great. Today I will be sharing the details with you of this "Gradient Nail art - DIY" I have done last month. A lot of you have asked for a tutorial to share so here is a complete step by step tutorial to do this easy nail art by your self.
 |
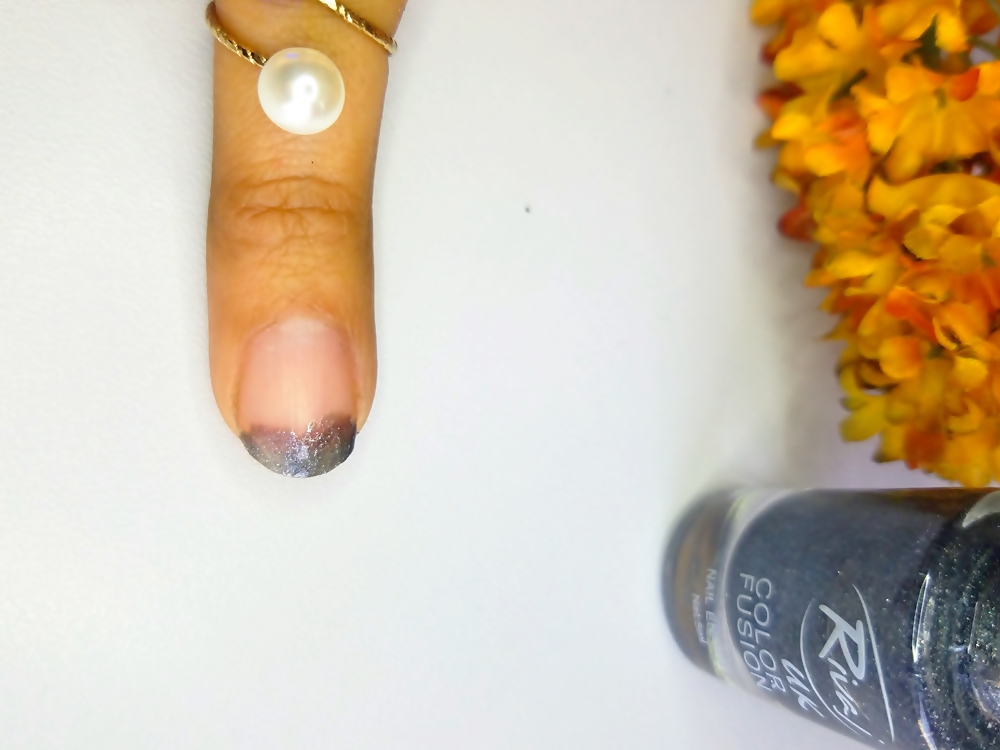
Gradient Nail art - DIY
|
Things you will need
1. Grey glitter nail paint
2. Sponge or a sponge brush
3. Topcoat
 |
| Gradient Nail art - DIY |
Method:
1. First you will need to apply a thin layer of this grey nail polish. But make sure to apply it only on the tips.
2. When it gets dry, apply the nail polish on the sponge and try to dab the nail polish as even as possible on the half of the nail. For about 3 to 4 times.
3 When its completely dry apply the same glitter grey nail paint on the tip area carefully to create more impact and color on the tips.
4 Afterwards finish off with a thick application of top coat.


Great post - I love how simple this look is! I used to love doing my nails but I haven't done them in awhile... Maybe I will this weekend! :) Thanks for sharing!
ReplyDeleteJenna ♥
Follow me back? Life of an Earth Muffin
Thank you sweetie sure would love to follow you
ReplyDelete